The Life Cycle of a Flower Arrangement
Because the title “The Life Cycle of a Flower Arrangement: Once Welcomed into Chez Núñez, the Home of a Resourceful Stylist and Photographer” seemed like quite the mouthful. No?
I think that second to ice cream, flowers are a sincere love language of mine.
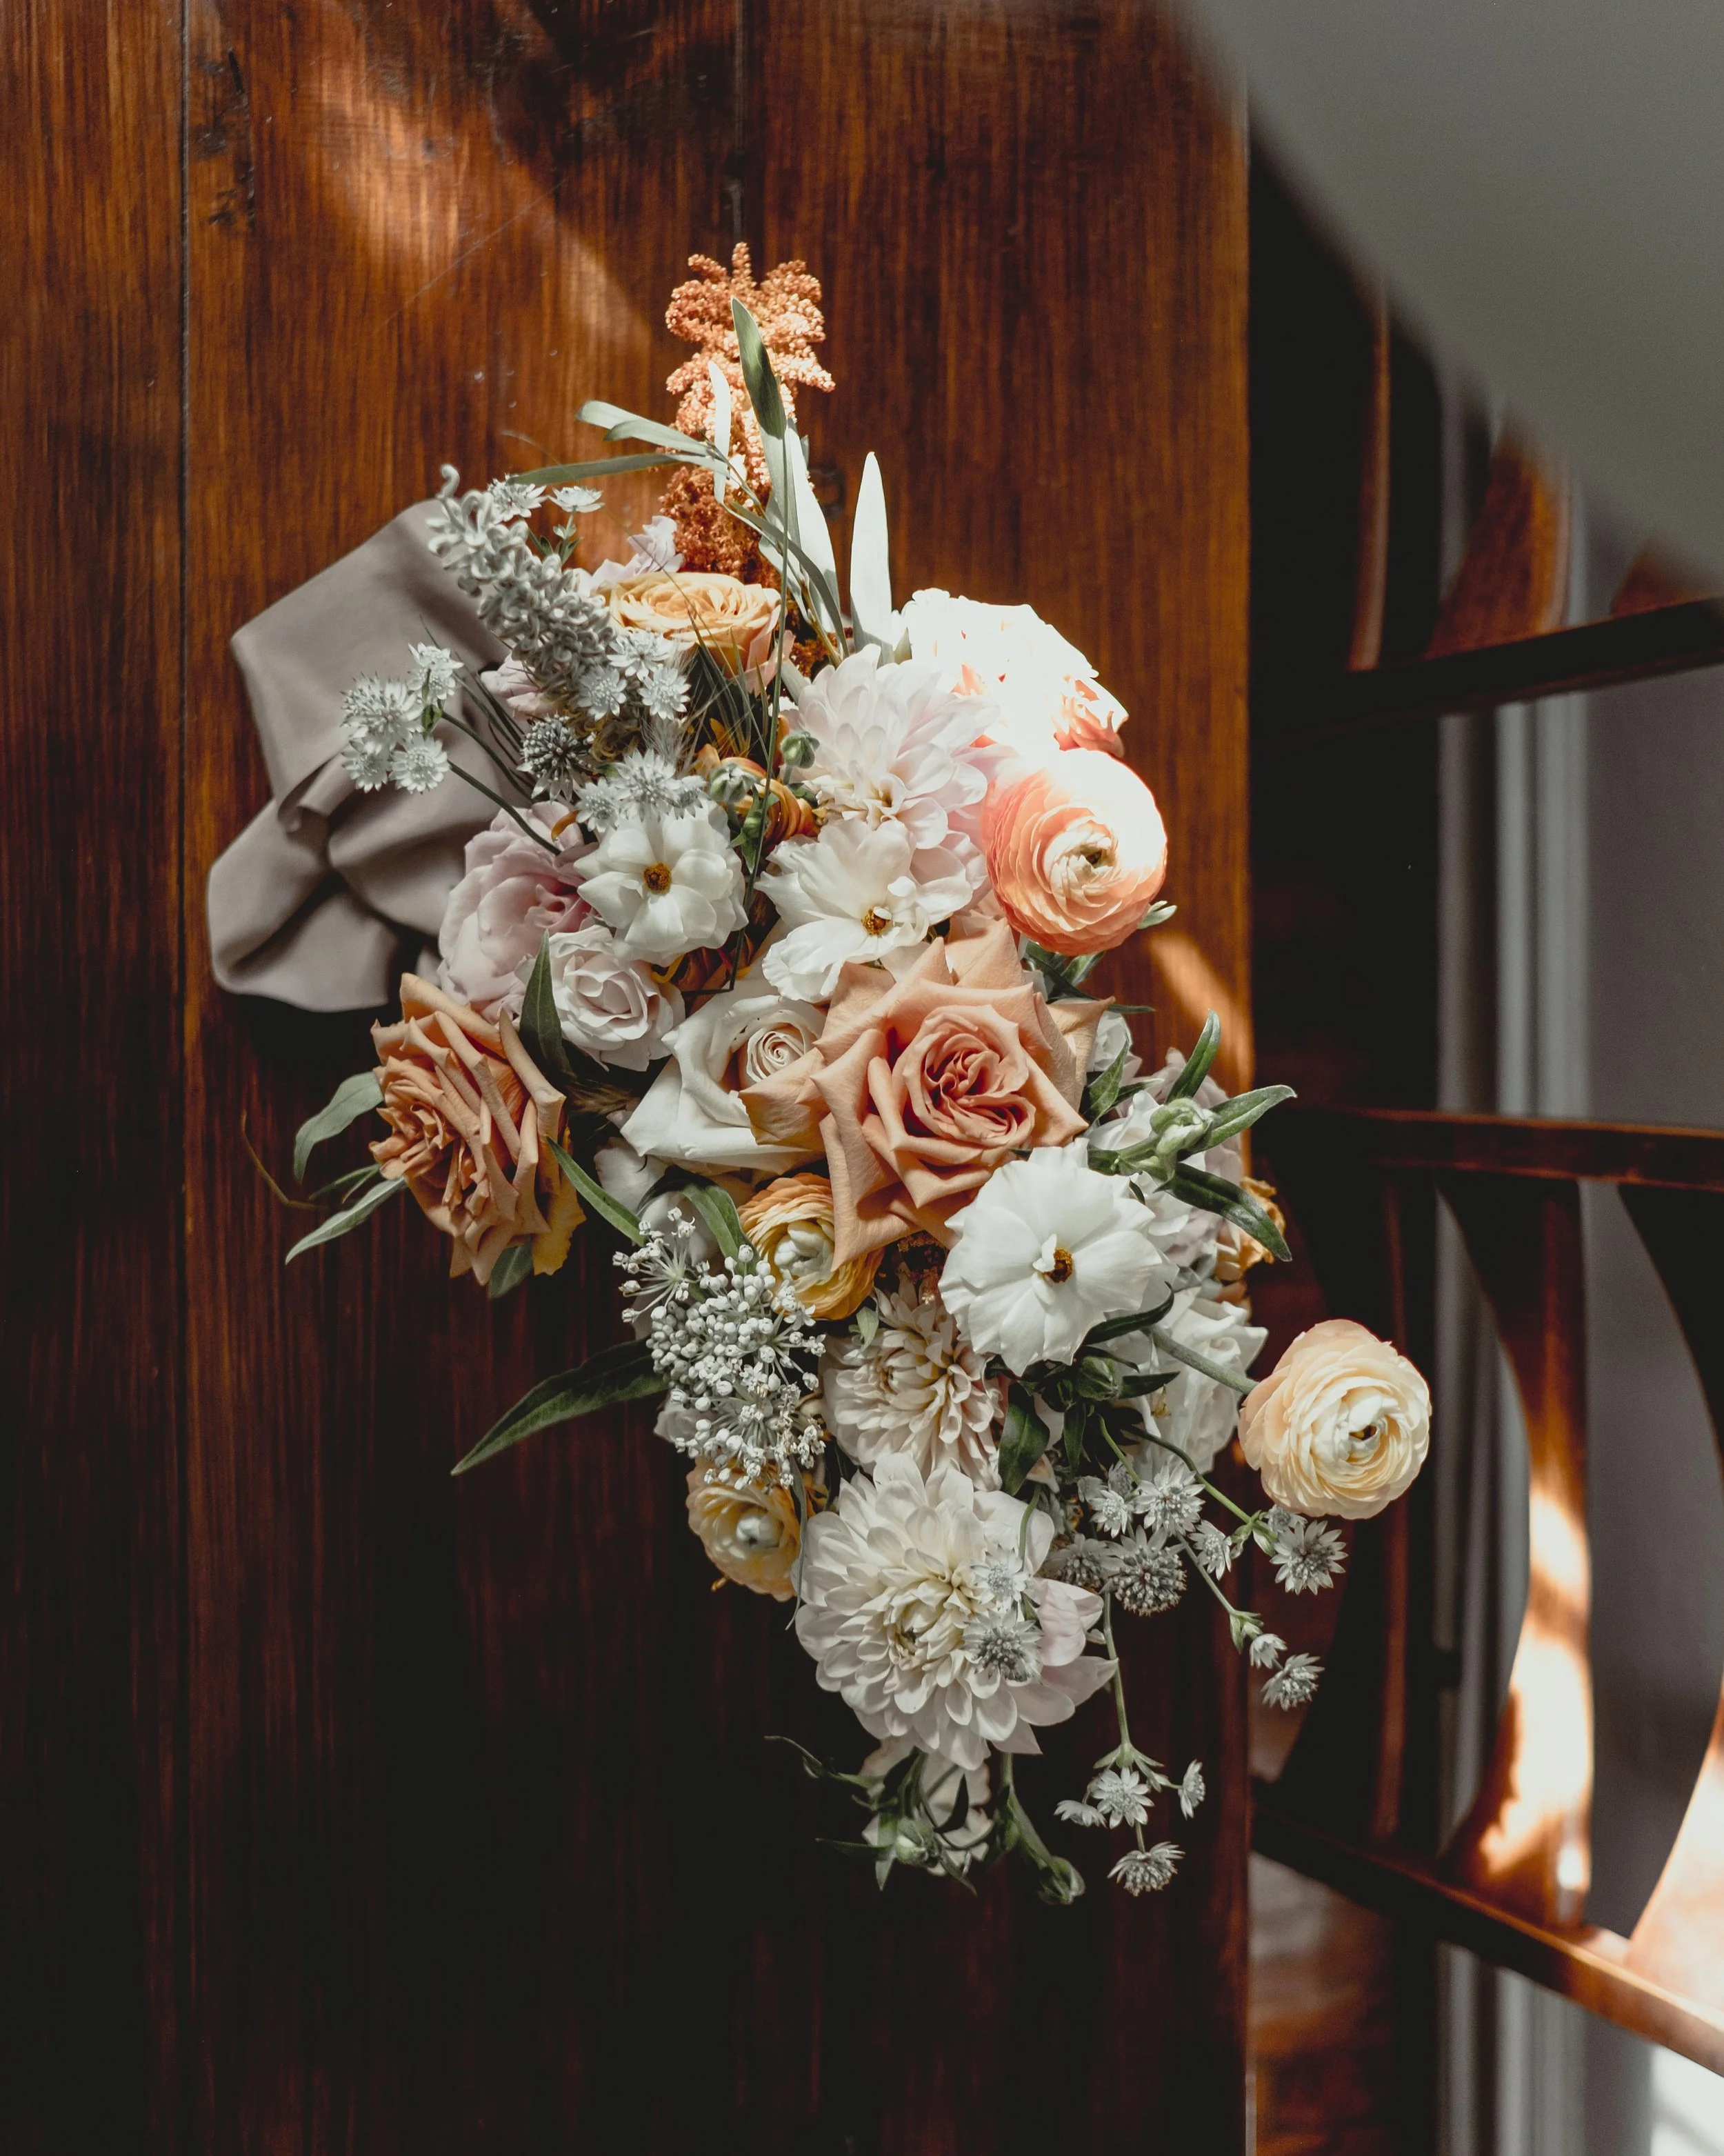
When I had the opportunity to welcome a beautiful bouquet of fresh flowers (arranged by my friends and talented florists), into the Chez Núñez home a month ago, you better believe my brain started involuntarily plotting ways to make the beauty last as long as it could.
As the flower life-cycle typically runs it’s course in my home, so do my creative approaches to documenting it.
It’s something that I do quite often, actually - using, styling, photographing flowers to help create social media and web content, and then even finding ways to re-purpose the flowers after they slowly wilt and dry out. With this specific bouquet however, I felt like I put together enough shoots with one single arrangement, that I ought to show the process, and multiple final shots in a blog post. If anything, for a fun reminder to myself.
So here it is! A post strictly dedicated to the versatility of flowers when it comes to styling and photography! How I love to find creative utility in their seemingly fleeting nature.
My first shoot was the obvious dining room table scene. The bouquet was sitting pretty in the sweet morning light, and all I had to do was try and capture it.
I used these photos in a couple much needed Instagram posts, after going through a good post-vacation lull in content. Here’s a look!
My second shoot: the potential profile photo. Portraits can come in handy for so many things, and I knew the classic over-the-shoulder shot with a big bouquet was surefire magic waiting to happen. Jesús helped me act fast, as this was the last day before the flowers started to wilt.
A fun thing to try when creating a shot like this, is to be really intentional about conveying a sense of abundance with the flowers. By tipping them slightly outward and towards the camera, a bit of an optical illusion can be created. This causes the flowers to come across even more big and beautiful and full!
Of course, mine didn’t need any kind of illusion to look impressive, but I know that not all of us have Kaleidoscope Floral nearby to purchase naturally stunning bouquets from. This technique is one that I’ve loved to put into play in the past!
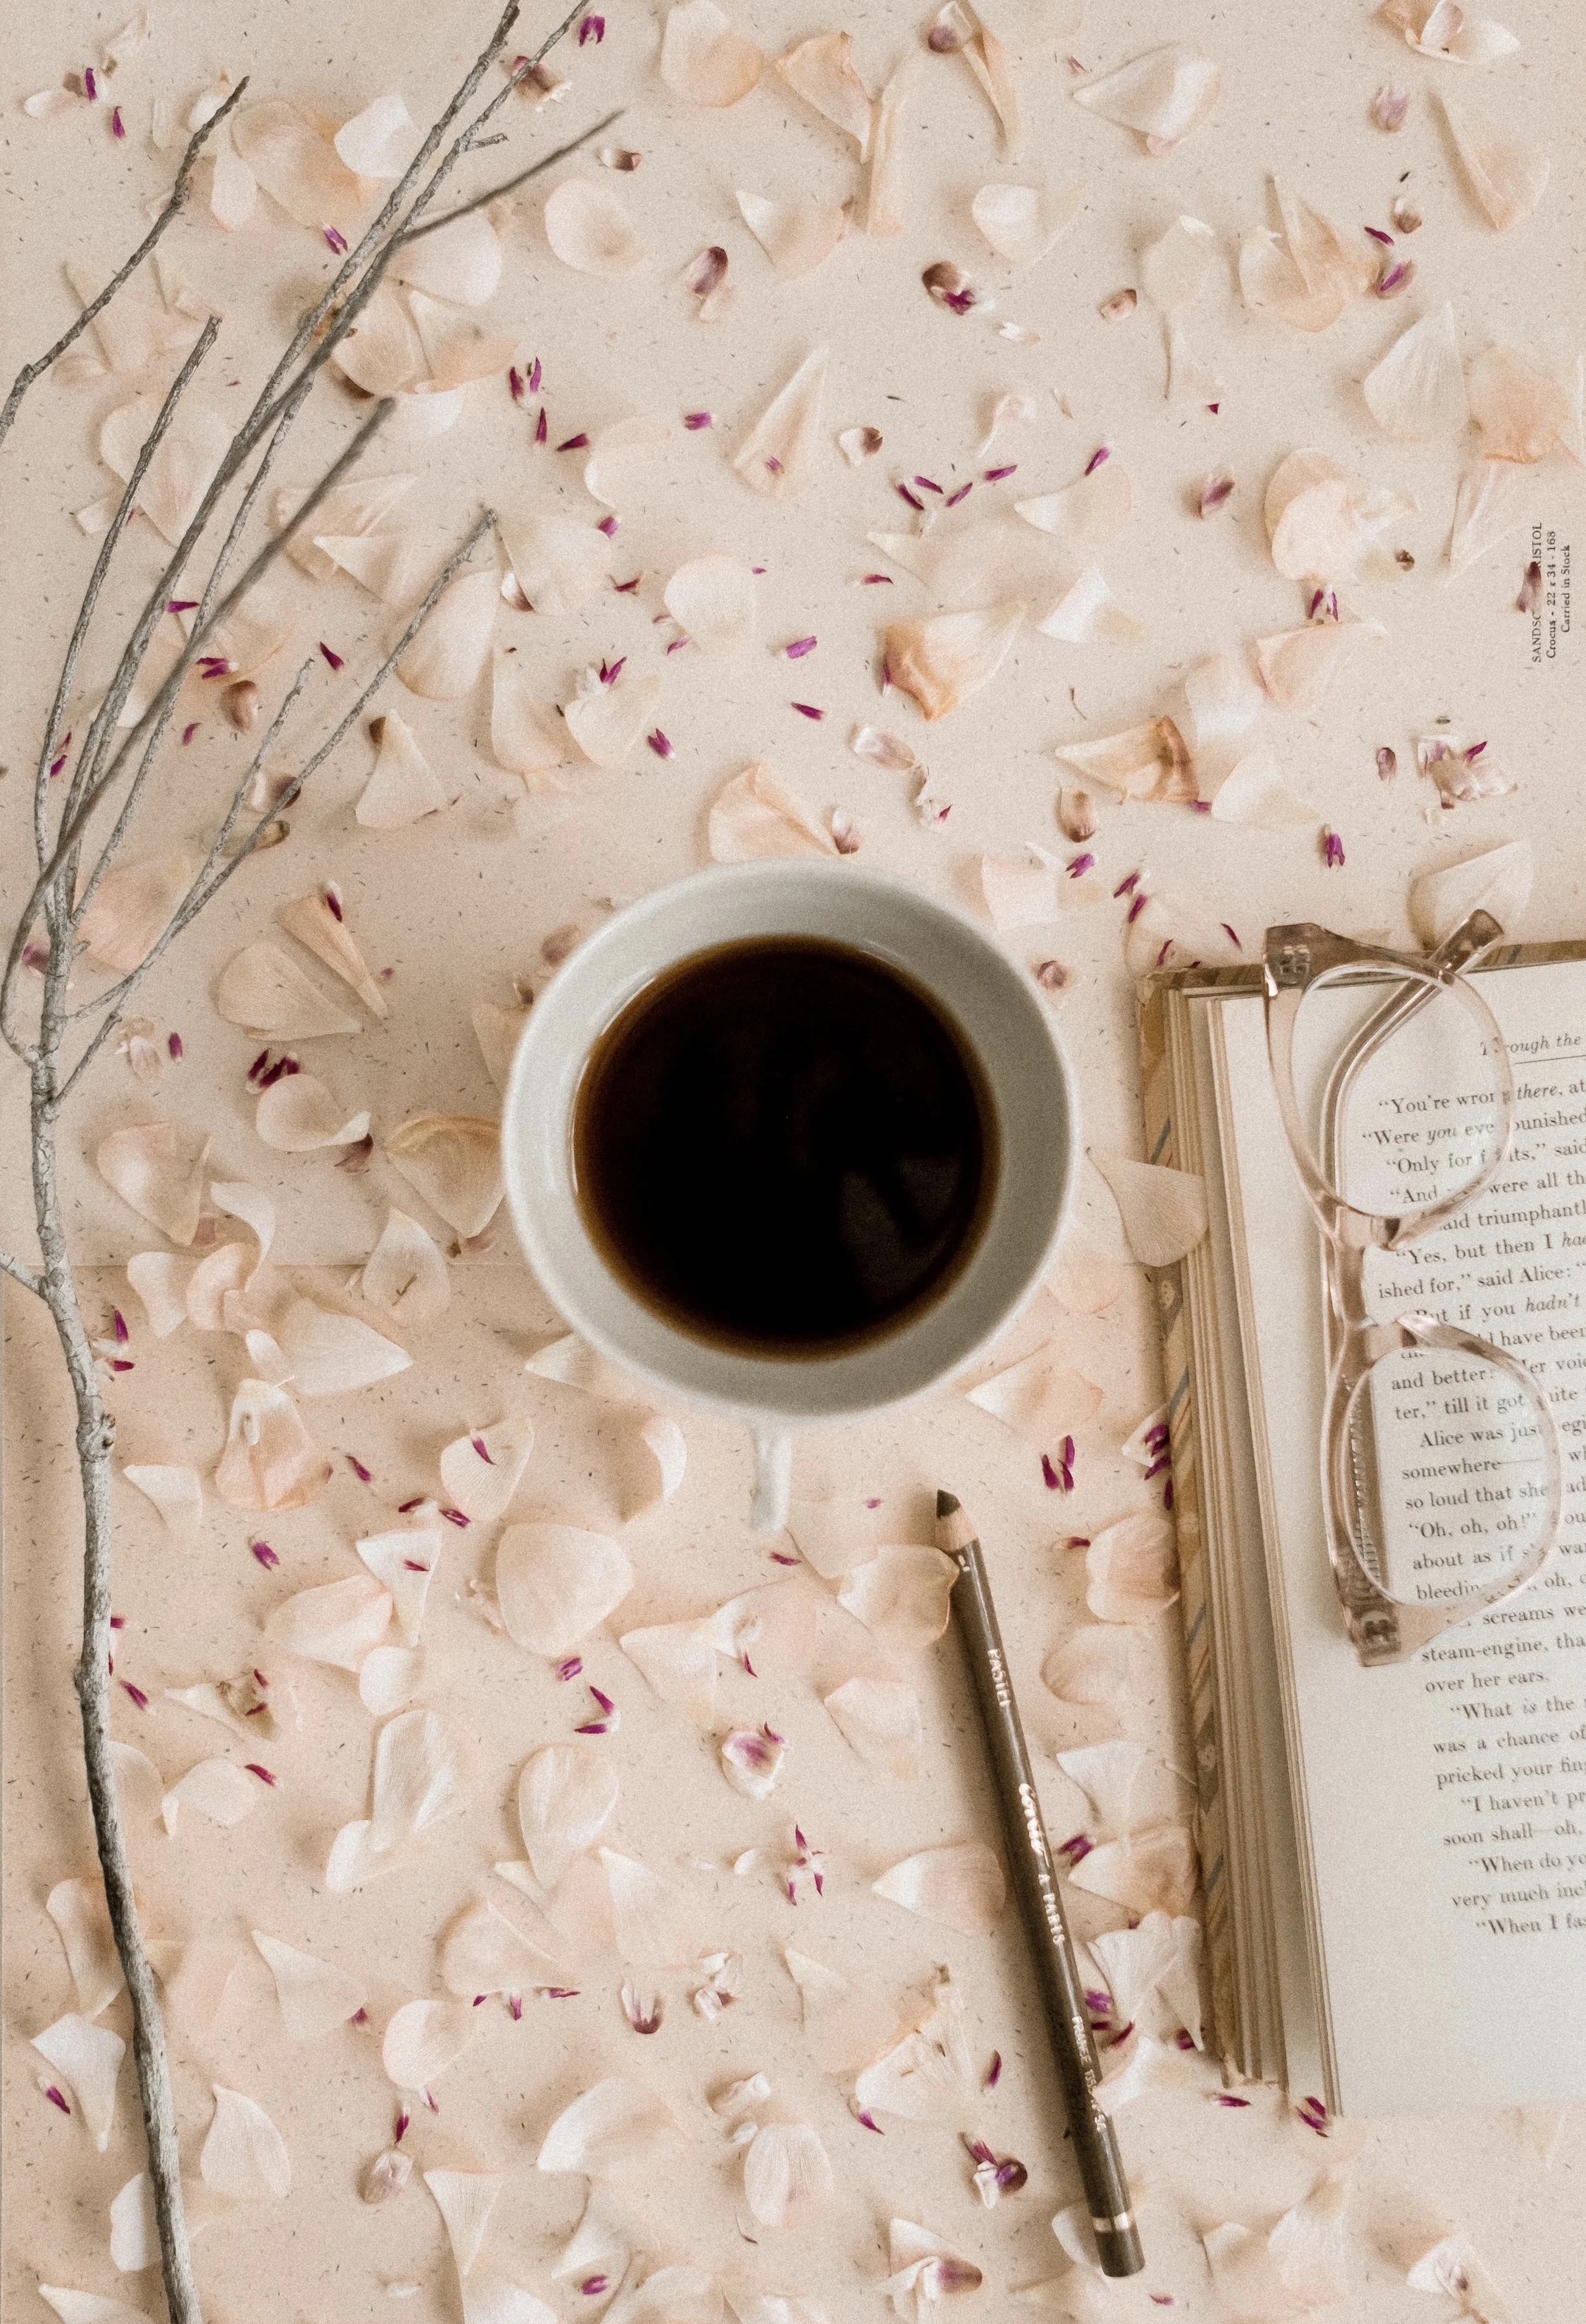
My third shoot: always the flatlay, baby. I pulled out some stems and petals for this shot, to document a recently finished branding set for (coincidentally) another florist! It worked out well, I think.
The fourth shoot: a mission to make some use of the petals. On the last leg of a flower arrangement, I am obsessed with the texture and styling opportunities that come from drying petals. Natural confetti anyone??!
Fifth and finally: once the blooms have wilted beyond my ability to photograph them, comes the the drying of my favorite stems to be used in future flatlays or arrangements around my home!
Here are some examples of how I was able to put these dried stems to use when I was photographing my fall collection of necklaces for Chez Núñez and shooting another collaboration with Mejuri:
Thank you so much for reading! If you found this post to be inspiring or helpful in any way, would you do me the biggest honor and let me know?!
Styling is one of my many loves, and I really do enjoy sharing about it.
Cheers!


