Paper Star Tutorial • Simple + Stunning Holiday Decoration
My love for handmade Christmas decorations spans back to my years of crafts with my mom as a child, all the way up through my marriage with Jesús and our very practical needs to decorate with things that don’t need to be stored away in a garage or attic all year long. The two of us have always lived in small apartments!
I love handmade decorations so much because they not only offer this storage-free way to decorate for the holidays, they also offer a space something thoughtful, unique, clever and elegant all at the same time. When created in the company of friends or family, they provide a sweet opportunity for tradition or a bonding experience - and I really enjoy that element as well.
The paper stars that I made this year were super fun to craft, have brought so much joy and festivity to our space, and they were all made with supplies that I already had on hand! They’re simple, tasteful, inexpensive to create, and magical - making them the perfect handmade decoration for Christmas AND/OR New Year! With a little glitter, silver or gold paper, these stars could easily enhance any New Year’s party.
Scroll down for step by step instructions on how to create them yourself!
Happy Holidays!!
Supplies:
Paper - You’ll need about 2-3 sheets per star depending on the width and you’ll want to choose a medium to light weight. Something with a little bit of stiffness, but not as flimsy as a sheet of computer paper works great. I recommend getting a large drawing pad from a craft store to buy in bulk. For color, I think these stars are the most festive looking in white, silver or gold. But I love the idea of black, or yellow as well!
Clear Tape
Scissors
Yardstick
Pencil
String
Butter knife or Bone-folder (to make all the folds)
X-acto knife (optional)
A cutting mat, or even a piece of cardboard/masonite so that you don’t cut or fold onto your floor or table.
Tiny metal hooks from the hardware store or Command Strips for displaying.
PROCESS
Step 1:
Start with one sheet of paper, flat on your cutting board. Use the yardstick and the back of a butter knife (or bone folder) to make even, vertical, parallel creases all the way across your paper, with each crease being about 2” apart depending on preference.
These creases will become where you fold the paper in order to form your star. Making the creases for the fold in advance makes sure they’re even and uniform.
*Your paper can face in a vertical OR horizontal direction as you make your vertical crease lines, it’s just up to preference. Depending on the size and orientation of your paper, you will either need 2 or 3 sheets to complete a full star.
If you don’t have a cutting board with rulers lines like mine, simply use the yardstick to make marks at the bottom and top of your paper indicating those 2” increments - so that you know where to fold!
Hold your yardstick in place, and run the BACK of the butter knife alongside to make the intents all the way across. Be sure not to cut your paper ;).
Step 2:
Turn your fully creased paper in the opposite direction and mark the exact center of your sheet with your yardstick, so that you can make a single fold (perpendicular to the others) with the back of the butter knife.
Just like the image below
You’ll now have a bunch of parallel folds in one direction, and a single fold in the opposite direction.
Step 3:
Fold along all the crease lines that you made in step one, moving back and forth in alternating directions (think of an accordion)!
Step 4:
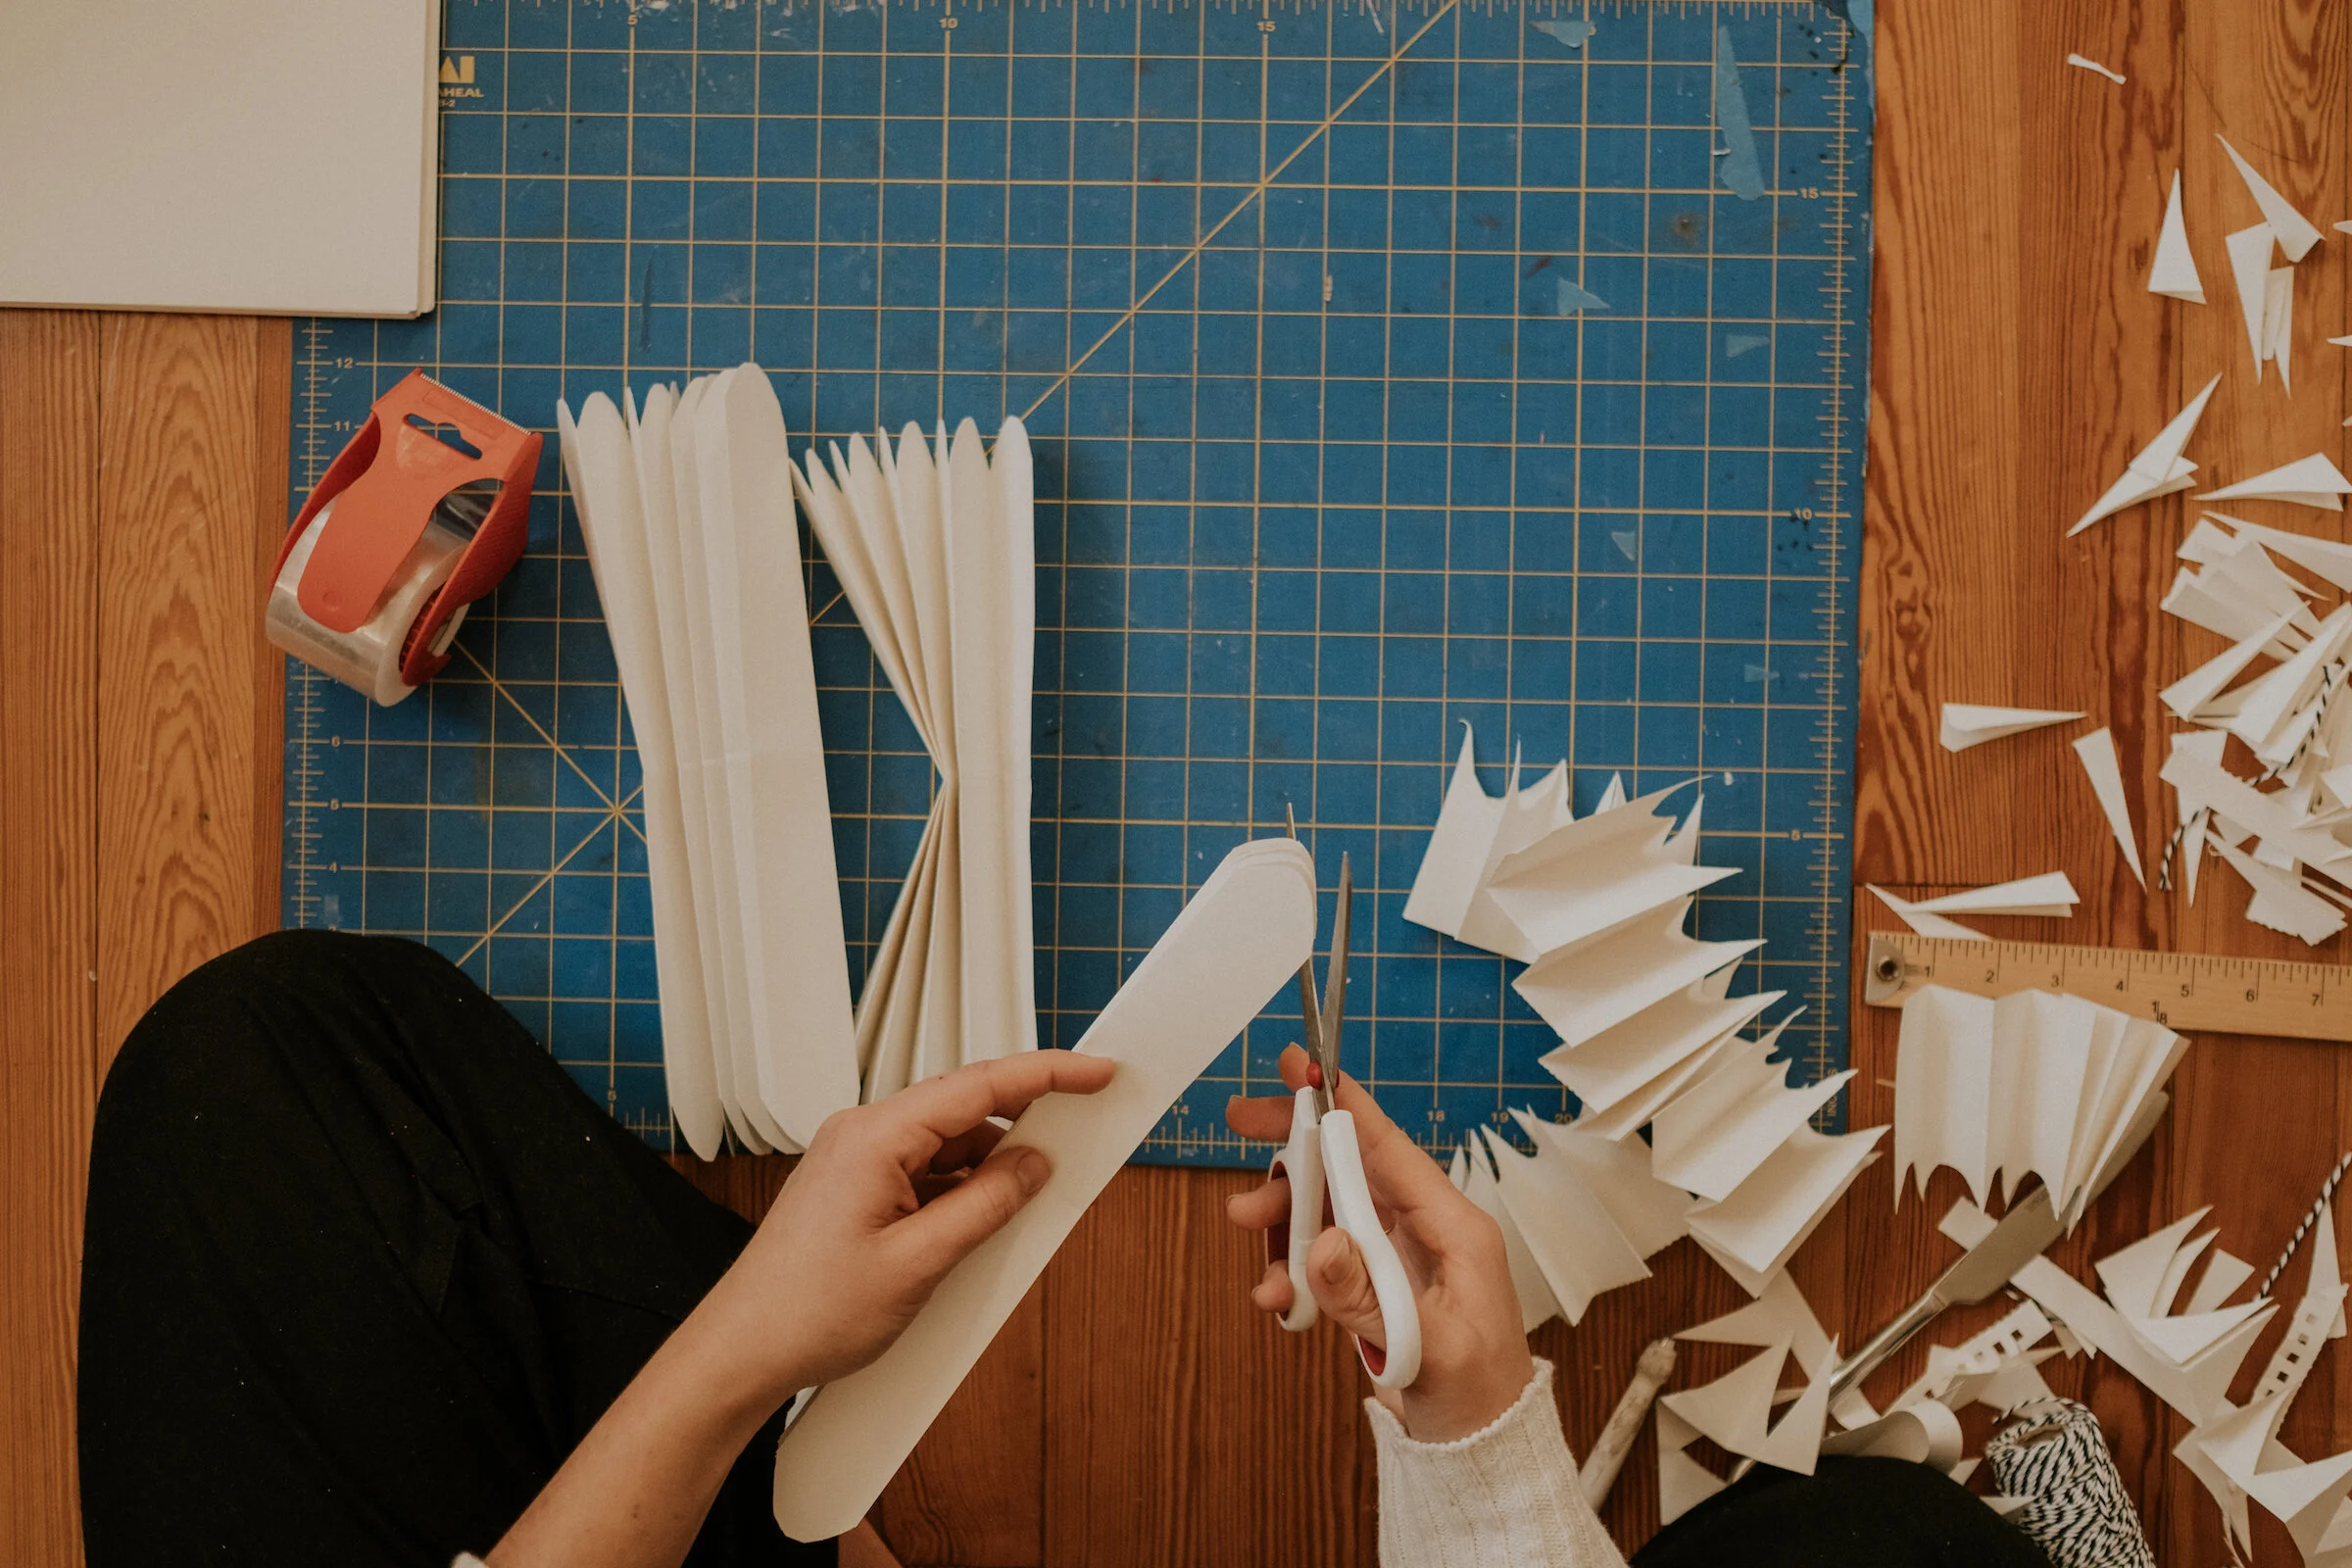
Repeat steps 1-3 either one or two more times (depending on the width of the paper). THEN, you’ll trim the edges of each one to create the outside pattern of your star. I love going with either pointed edges or rounded scalloped edges. They don’t have to be perfect, but in order to form a full circle, make sure you’re cutting it at about the same depth on all sides. You don’t want one side of your star to be shorter than the other!
(Having paper that’s super thick could make this step a little more tricky as well, so beware of that, and adjust if need be.)
Step 5:
Bring all 3 (or 2) folded pieces together, back to back, and tie them all together at the center folds with string! Make sure to leave a long enough “tail” on one end of the tie so that you can hang up the star at the end!
I used a black and white twine, which is harder to hide, because that’s all we had. If you want a more magical, floating illusion, then I recommend using a sturdy white thread or fishing line.
Step 6:
Begin to spread out all the folds in a circular direction around the string, taking the care to bend them a little extra near the center fold.
Then you’ll take your clear tape and begin to tape the edges that meet! Leave the string to hang out one side of the star.
Tape all the edges that are not connected yet, all the way around so that the segments of paper form one complete star.
Step 7:
Now that the star is all together, your last step will be to tape the long end of the string to the inside of one of the folds so that it can hang upright!
You can hang them up with tiny metal hooks from the hardware store or Command Strips and you’re good to go!
Ta-Da!!!
Did you find this tutorial helpful or have any questions on it?! Let me know in the comments.
Happy Holidays!!


